
Ever since I can remember I have always loved flowers, the colours, varieties and scent capturing nature’s beauty and evoking happiness. Yet they are even more intriguing when placed in the home.. breathing life into the home. In this post I’m going to show you how to create a cut flower bed so you too can enjoy growing flowers/vegetables.
One of the most important items used by interior stylists are flowers for interior design shoots so it is very much related to interior design. See the end of the post to see how you can incorporate flowers, plants and foliage in your interiors in places where you might not have thought of before!
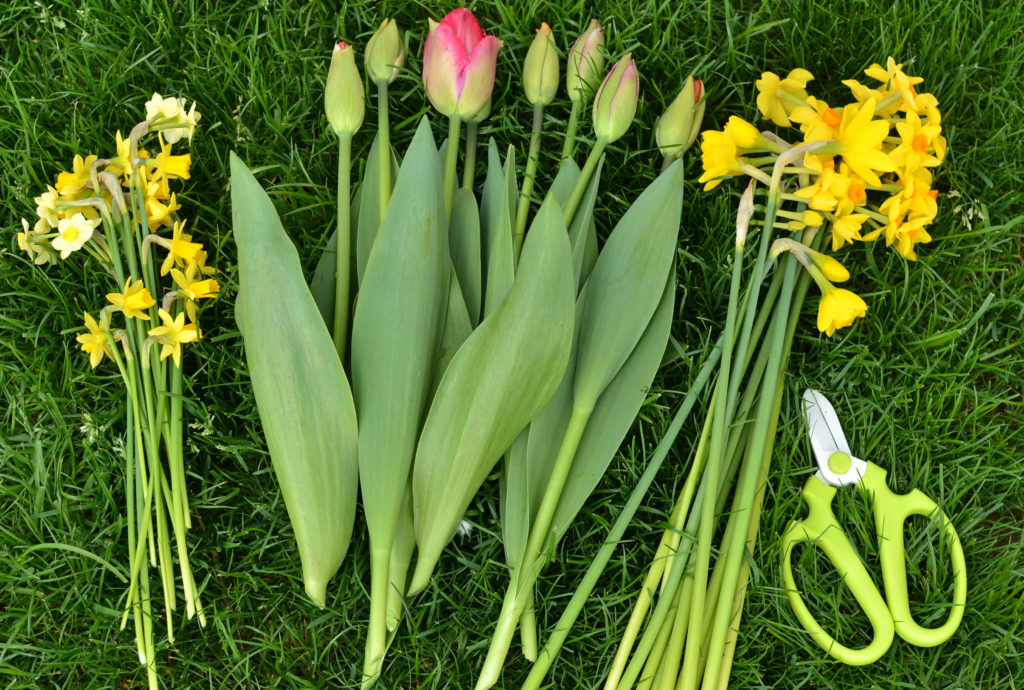
As romantic as it sounds though having a constant supply of fresh flowers in your home every week is expensive. That’s why I decided to have a cut flower bed which would give me an endless supply of seasonal flowers without hurting the wallet! This year we had around 4-5 batches of tulips and daffodils over the course of 2 months.
On top of that the sheer joy of seeing something you planted manifest into life is a wonderful feeling. I’m going to show you how to create a cut flower bed and if you don’t have a garden you can use some pots on your terrace and adapt the same principles.
1. MAKE YOUR BED
First thing you’ll need for creating your cut flower bed is make or buy your raised bed. I bought mine from QuickCrop who have a variety of sizes and types. They are very easy to put together with a drill and some screws. For those of you choosing the pots route, you just need to pop to your local garden centre and get quite deep pots so that the roots can go fairly deep. Make sure your pots are frost resistant as they will be staying outside over winter. Troughs are also a good option and quite inexpensive.
2. PREPARE THE GROUND
Next you’ll need to place your raised bed on the ground where you want it. If you place it on grass, you’ll need to dig out the grass as my husband (kindly) did and turn over the soil. I would suggest to hire a gardener if its a bit too much hard work! But it’s totally worth it!
Then you’ll need to buy some top soil to fill up your raised bed, you can buy a few bags from your local garden centre or you can order a bulk load online delivered to your house. Might be useful if you are doing quite a few raised beds together you’ll be surprised at much soil you need!
At this point you are half way through how to create a cut flower bed.
3. BUY YOUR BULBS OR PLANTS
Now the fun and most exciting bit! Choosing your bulbs or summer cut flowers to plant, this will depend on the time of the year. Plant spring bulbs from late September to early November and summer plants from May to June.
Buying bulbs are so much more cost effective than buying a bunch of tulips in the shops, you get a lot more of your money’s worth than you would in the equivalent when buying flowers.
WHAT SHOULD I BUY?
I bought all of my bulbs from garden centres like Frosts and Dobbies who have an abundance of varieties and do great offers around autumn, so keep an eye out for them.
This year I had a variety of spring bulbs, from different daffodil sizes, tulips with different colours and the gorgeous pom-pom like alliums. I think its great to have variety of sizes, you can put a small bunch of daffodils in a vase on your mantle piece, shelf or my favourite the bedside table.
Tip: Make sure you buy flowers which specifically state ‘cut flower’ on the packaging. They will have longer stems great for cutting and getting into your vases. The best way to know what you’ve planted, is to use labels and also to plant the same variety together and section it off with some gardener’s twine. Don’t be tempted to mix things up, if you’re thinking you want it to look pretty as they grow. Not a good idea trust me! You need the same species growing together at the same time.
4. HOW TO PLANT
Finally the crucial part when creating your cut flower bed is planting the bulbs. Before you start planting you should have two things ready:
1. Your raised bed with top soil
2. Your chosen bulbs or summer plants
To get planting, you will need to follow the instructions on the packaging. We plant the bulbs by digging a trench around 4-5 inches deep and place the bulbs 2 inches apart. Then do another trench, and repeat the process. Yes its hard work! But its easier than digging out each individual hole.
For your pots, depending how deep your pots are you want to place your soil two thirds in the then place your bulbs 2 inches apart, cover with soil. We always put some winter bedding on top to make it look a bit nicer than bare soil.
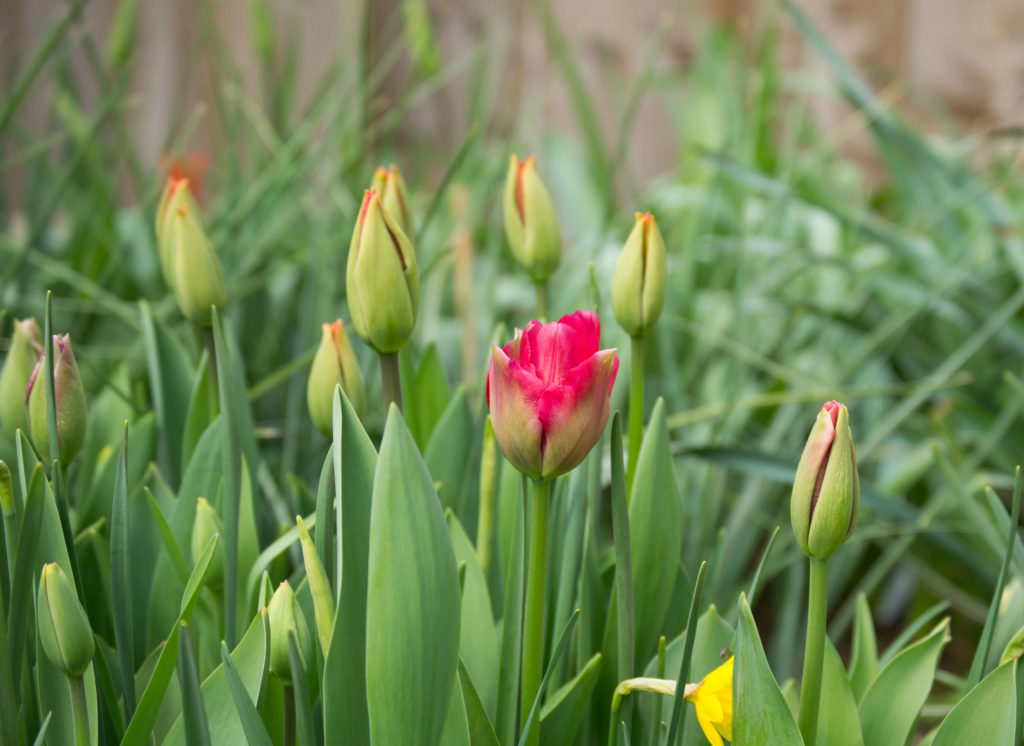
5. READY TO CUT!
At this point your plants are lusciously green and ready to be cut. Its so satisfying to see how your cut flower bed has come to life and enjoy in your home.
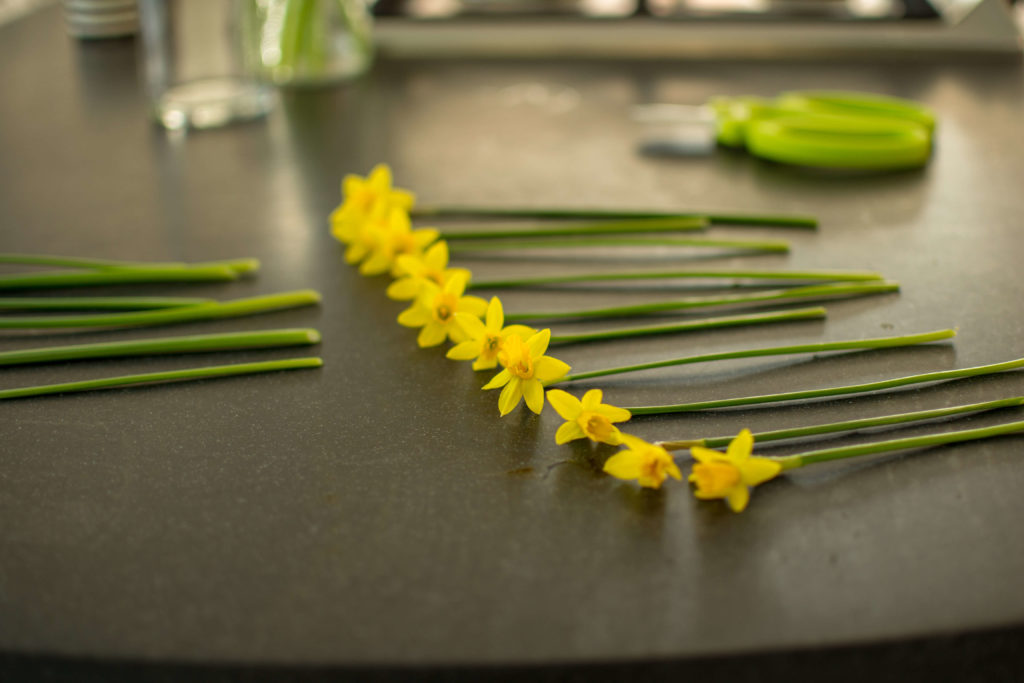
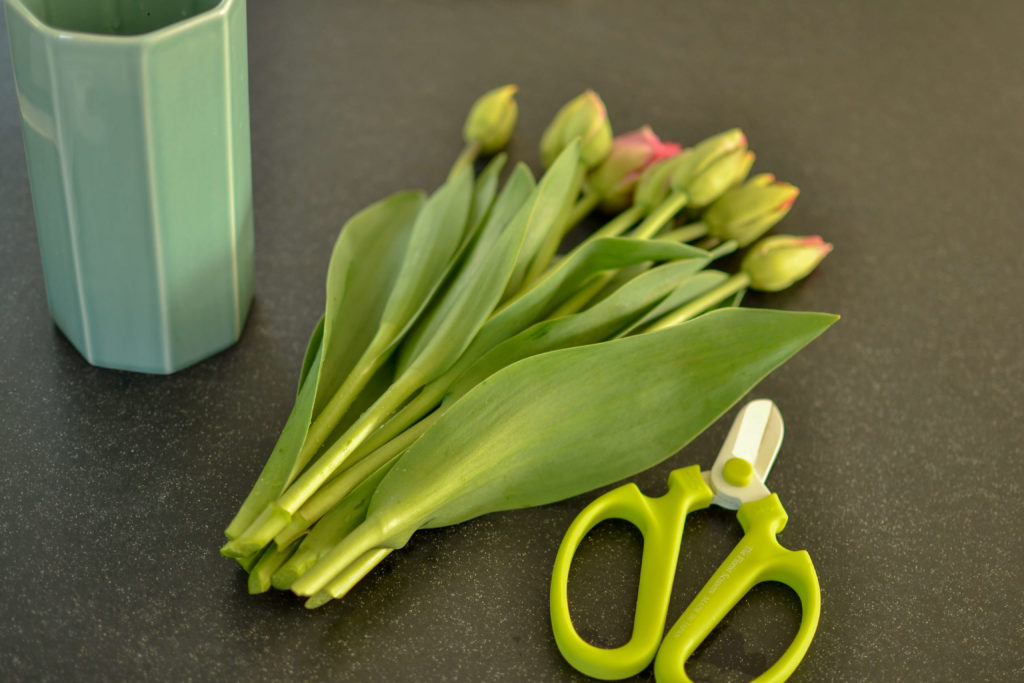
So how do you know when to cut them? You’ll know when the buds look like they are about to burst open, you want to cut them before they open so that they will last longer. If they have already opened up already, don’t worry cut them anyway. The best time to cut them is first thing in the morning.
Tip: Remember to always cut at an angle to allow the stem to maximise water intake
Thanks for reading, I hope you enjoyed this post, let me know in the comments below!
To subscribe to our newsletter sign up below and never miss a blog post! Don’t forget to check out the previous blog post on top interior spots in Marrakech here


